Today we’re going to switch away from the simpler recipes we’ve been featuring lately and show you something a little more involved. Actually, pretty involved – we made our own pasta, completely from scratch! At the beginning of this year Miriam bought the book Pasta: The Spirit and Craft of Italy’s Greatest Food by Missy Robbins, the chef who’s behind two amazing restaurants in New York – Misi and Lilia – that we really enjoyed. The book gives detailed instructions for how to handcraft all kinds of different pasta shapes and we want to try this year to make some of the interesting ones, so we decided to start out with an entry-level noodle: tagliatelle, from Italy’s Emilia-Romagna region. If you want to make the pasta from scratch you’ll need a stand mixer fitted with a pasta roller – but if you don’t have that equipment, or just don’t feel like spending the time and effort on homemade pasta, you can also use this recipe with store-bought noodles instead. In the spirit of full transparency, we’ll confess that it took both of us 2 1/2 hours just to make the pasta itself, but it was a fun process and we’re super proud of our effort so we’re going to walk you though how we made the tagliatelle and then cooked it up afterwards.
To make this, you’ll need:
- 00 flour
- 2 dozen eggs
- Semolina flour
- A medium butternut squash
- Butter
- Olive oil
- Sage
- Garlic
- A pound of mushrooms
- Parmesan cheese
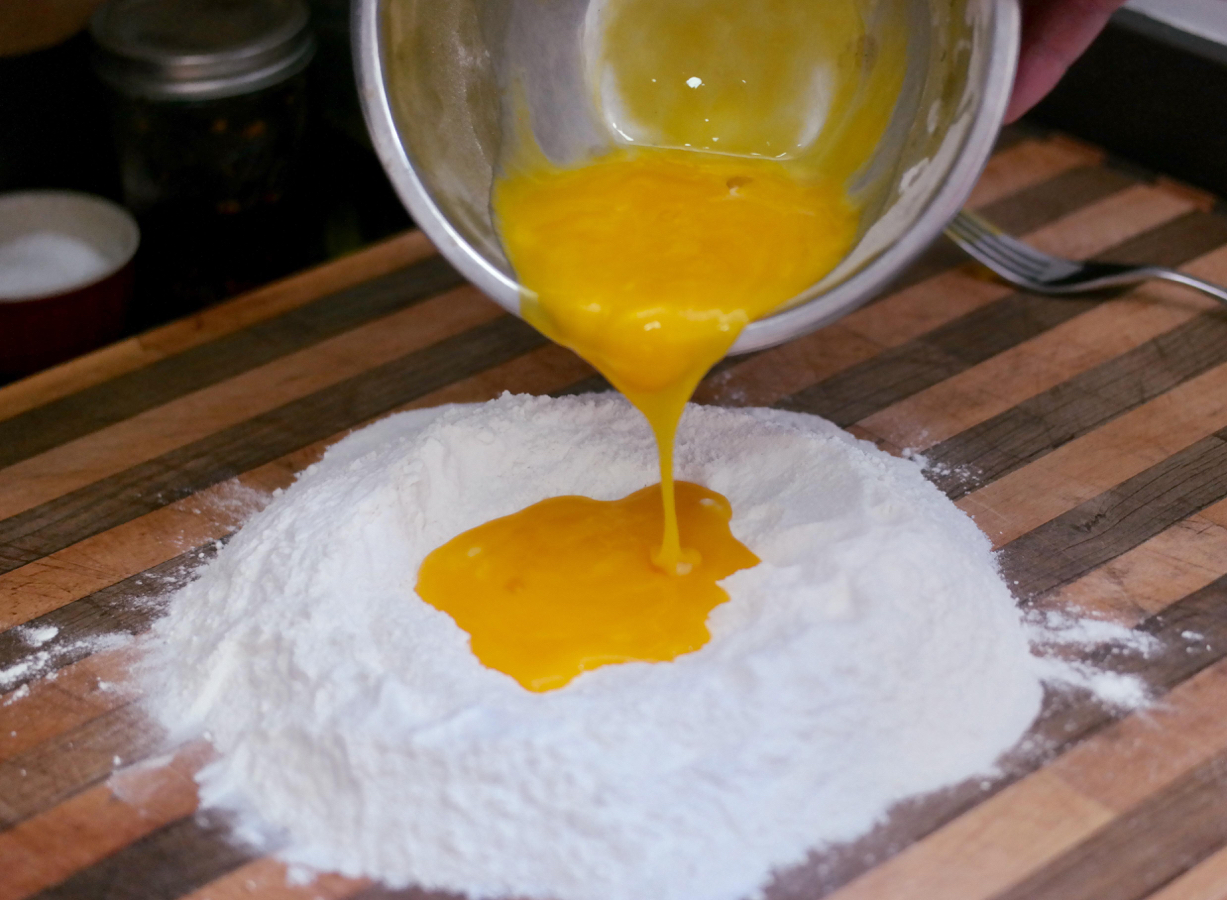
To make the pasta, we first used a food scale to measure out 500 grams of 00 flour, then we plopped it down in a mound on a large wooden cutting board and created a well in the middle. We took two mixing bowls and cracked half of our egg yolks into one and half into the other (you can save the whites for something else), then stirred – not whisked – the yolks in each bowl around and gently poured one bowl into the well in the flour.
We used a fork to carefully and slowly stir the yolks into the flour, making sure not to let them escape from the flour onto the cutting board.
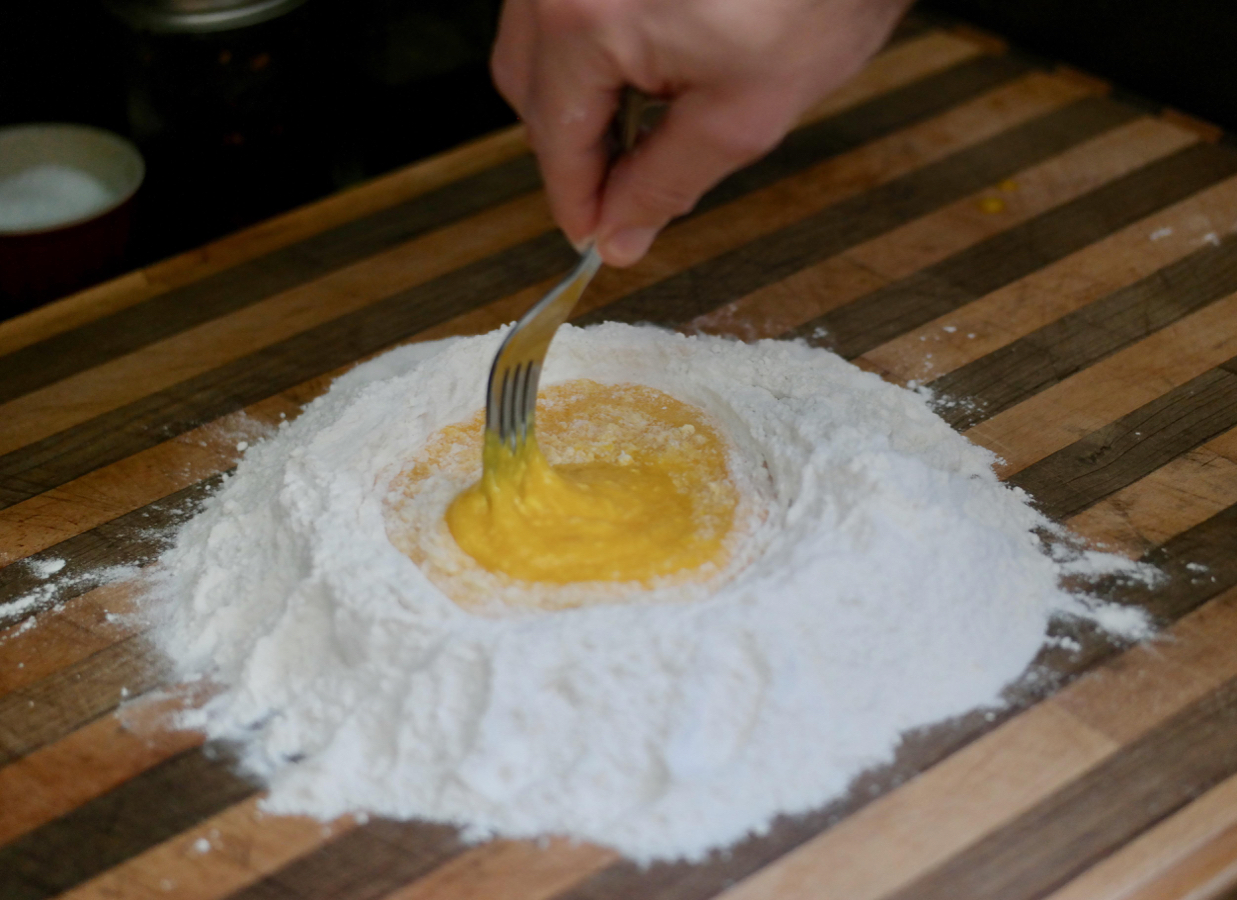
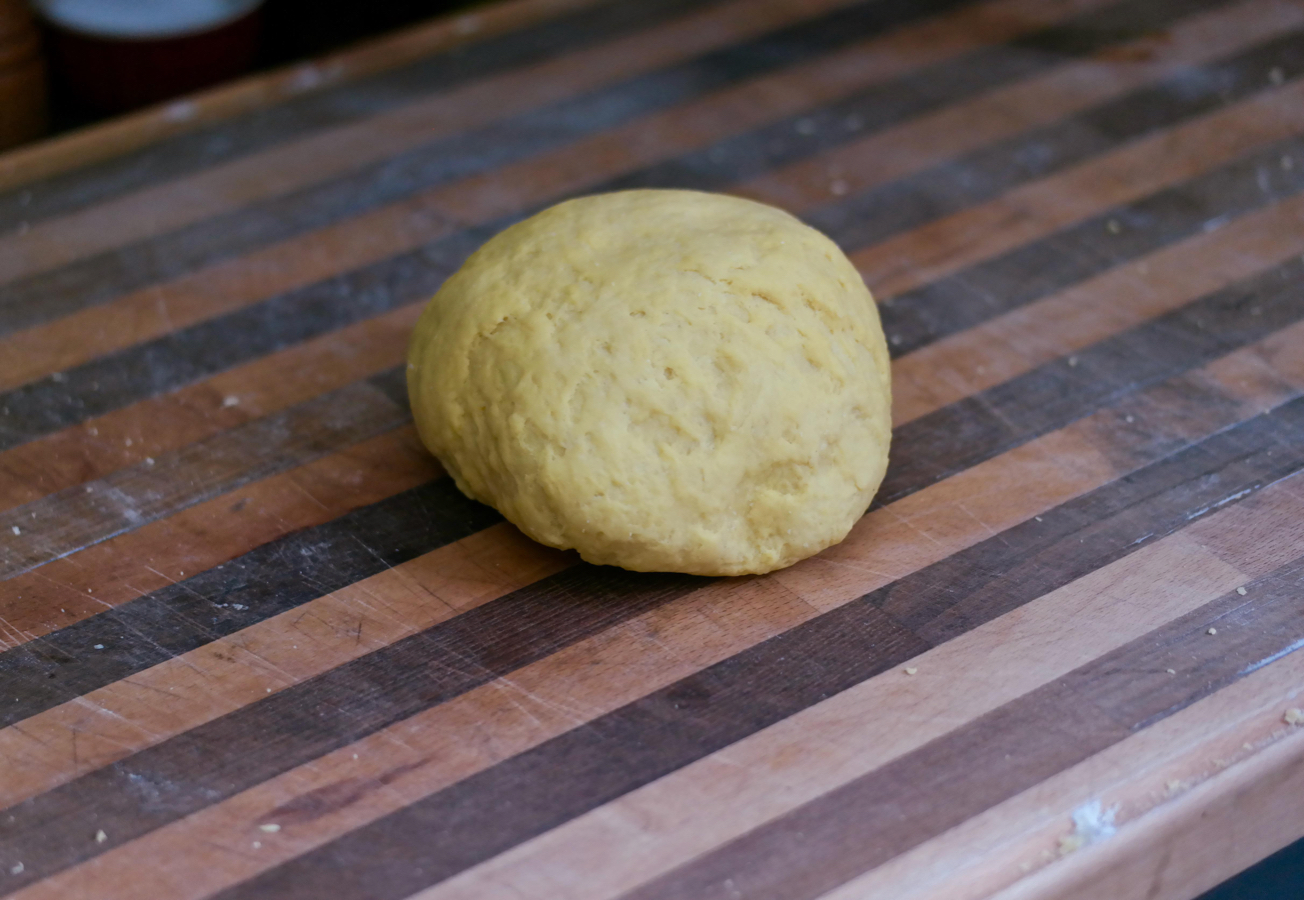
Once all of the first set of yolks was incorporated, we gradually poured in the rest, mixing them in with the fork until we had a dough. We rolled the dough into a ball and covered it in plastic wrap to rest for half an hour.
Next, we divided the dough into four equal parts and rolled each part out into an 8-inch square on a surface dusted with 00 flour. We set up our pasta roller and placed it on the first setting (it should be “1” on the dial). We fed this dough square through the roller, and when it come out we folded it up like an envelope by bringing both ends to the center to slightly overlap. We fed this through the roller again and folded it up in the same way, then repeated this process two more times.

After the fourth run through the roller you don’t need to fold the dough again – instead, we put the pasta attachment on the “2” setting and fed the dough through, then cranked the roller to “3” and fed it through again, and kept going until we got the pasta rolled through at the “6” setting. Every time you dial the roller higher, you’re sending the dough through a more and more narrow opening, so the dough keeps getting thinner and longer. By the time get to 6, you’re going to have pretty long pasta sheets – set them down on a sheet of parchment paper and dust with 00 flour, carefully folding the ends over if they can’t fit on your work surface. Then repeat this same process with the other three pieces of dough.
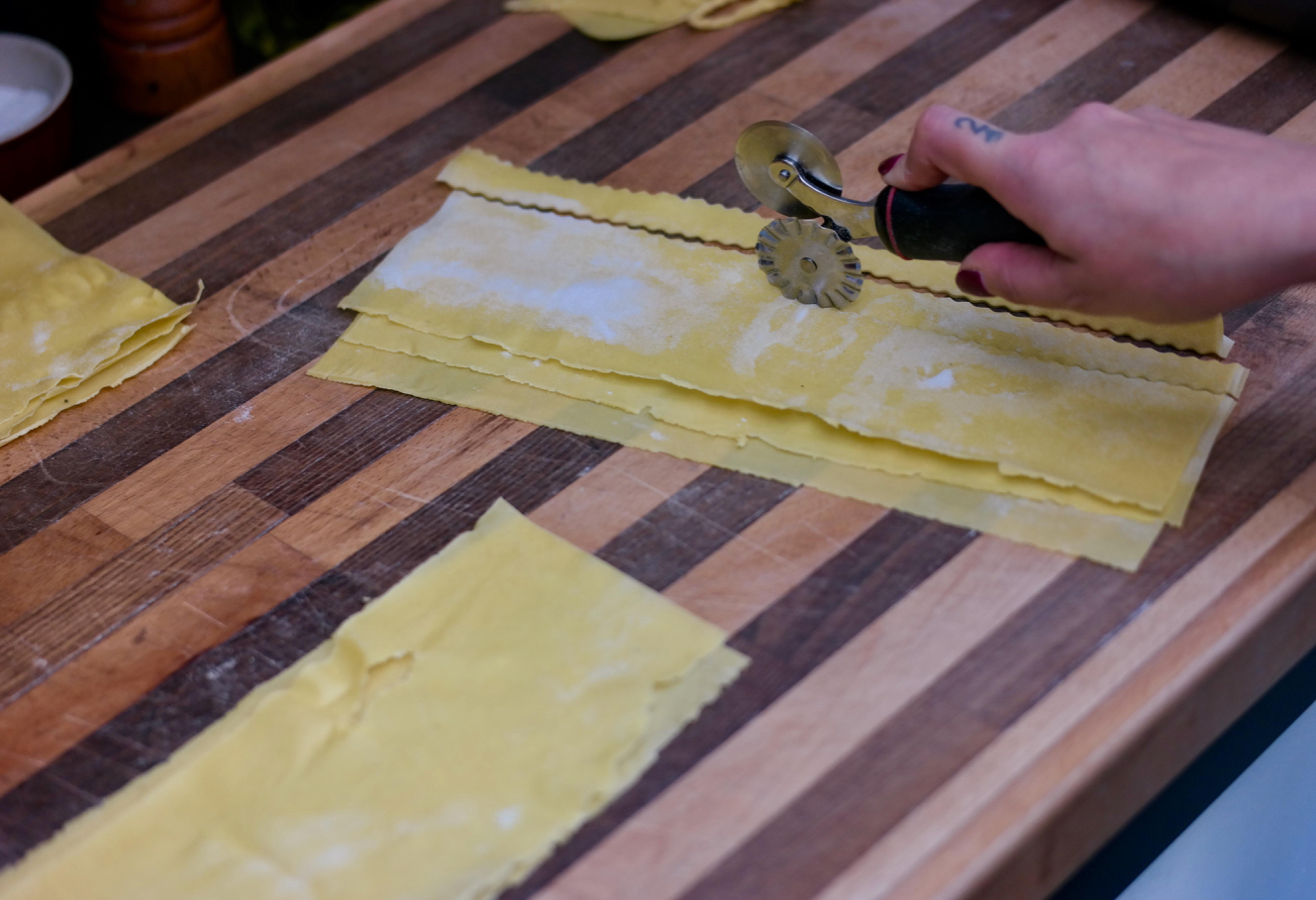
Now comes the fun part – shaping the pasta! Cut your pasta sheets into foot-long sections and stack four of these sections on top of each other, then use a crimped pasta cutter to trim the edges (you can save all your scraps to eat as imperfect pieces of pasta). Cut the sheets into noodles that are about 1/4-inch wide.
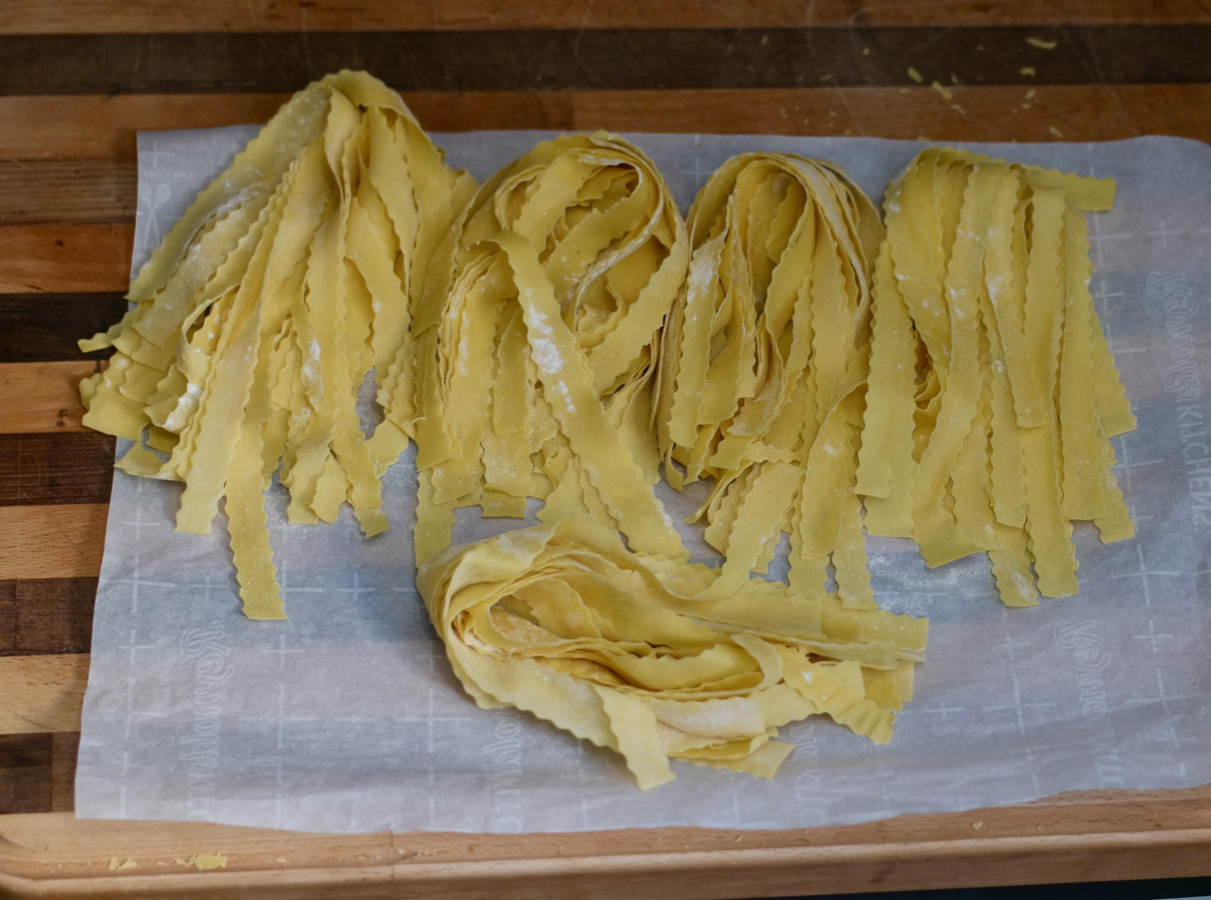
Once you’ve cut up one set of sheets, peel the noodles apart, place them in a pile, and fold all the noodles gently in half. Dust the noodles with a little 00 flour, then sprinkle semolina flour on a sheet of parchment paper and place the pasta on that. Repeat this process until you’ve cut all your dough into noodles. You can cook your pasta right away, or if you want to use it later place on baking sheets and cover those with plastic wrap.
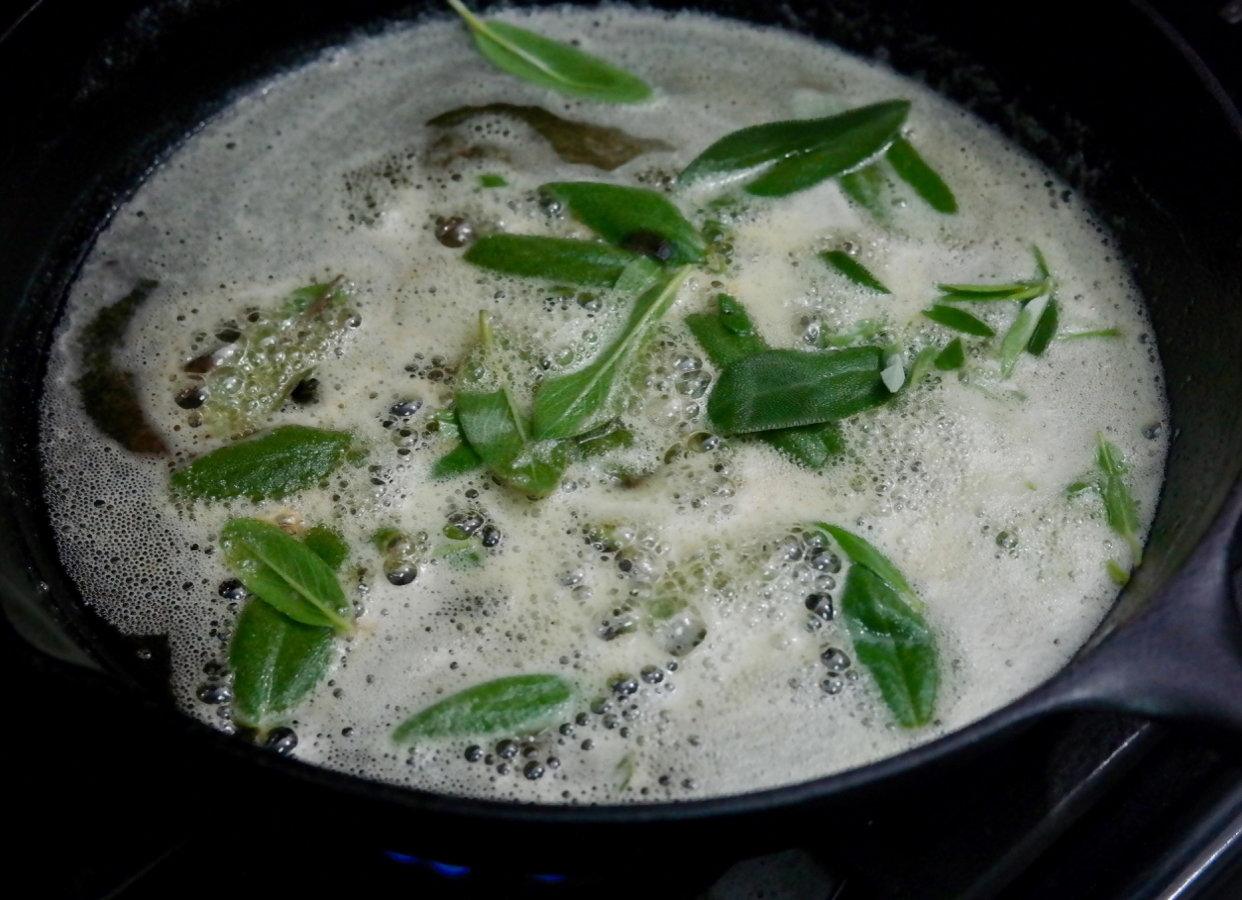
Now onto cooking our pasta: we first peeled our butternut squash, scooped the seeds and pulp out of the inside, and cut it into small cubes, and also sliced our mushrooms thinly and minced 4 cloves of garlic. Then in a large cast iron skillet we melted 6 tablespoons of butter over medium-low heat, whisking it frequently until it started foaming. We plucked the leaves off our sage and placed them in the butter to fry up – once they started browning and becoming crispy, we fished them out with a slotted spoon and placed them on a paper towel to drain.
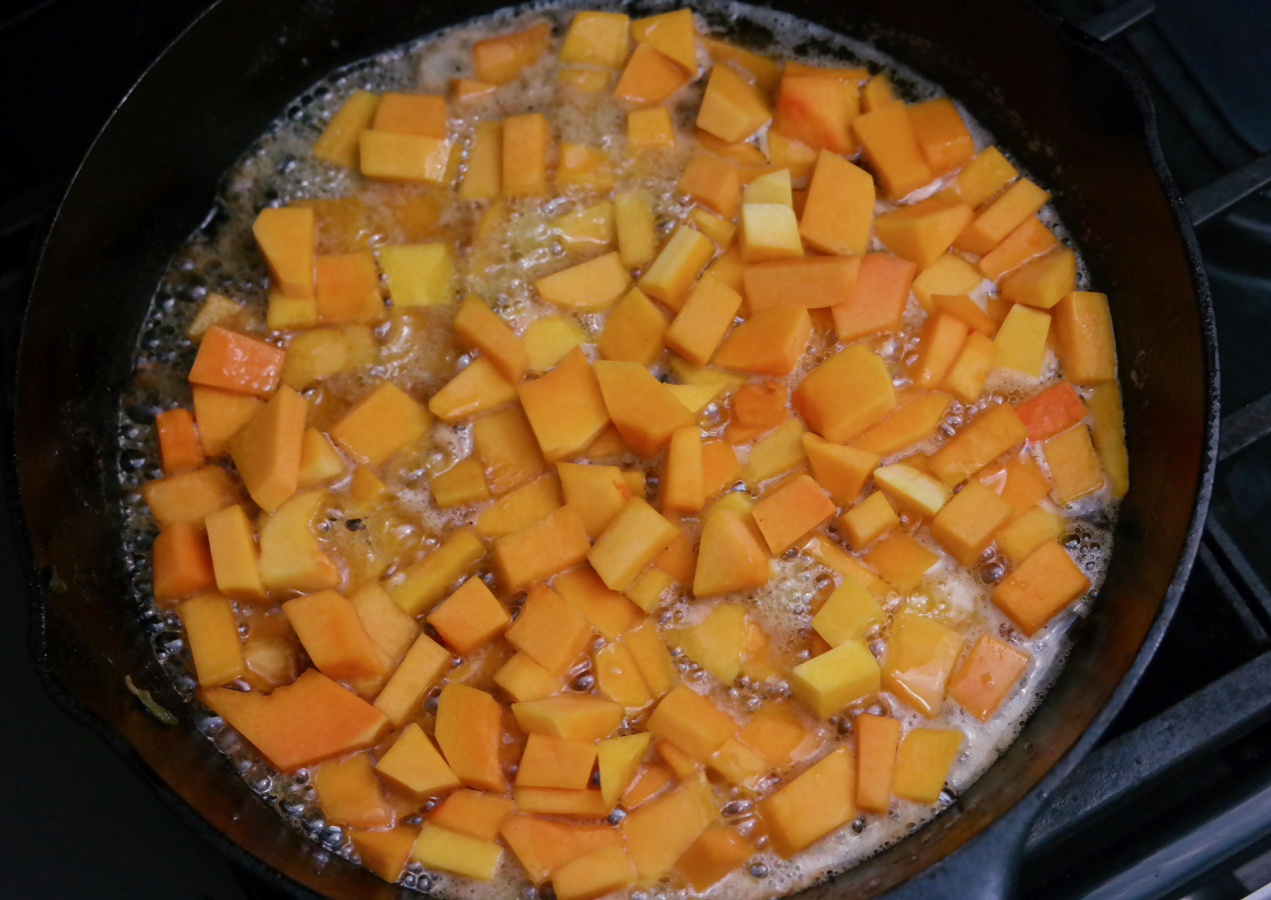
Then we added a tablespoon of olive oil to the pan and placed in the butternut squash along with some salt and pepper. We cooked the squash for 12 minutes, stirring it around every so often until it was well softened.
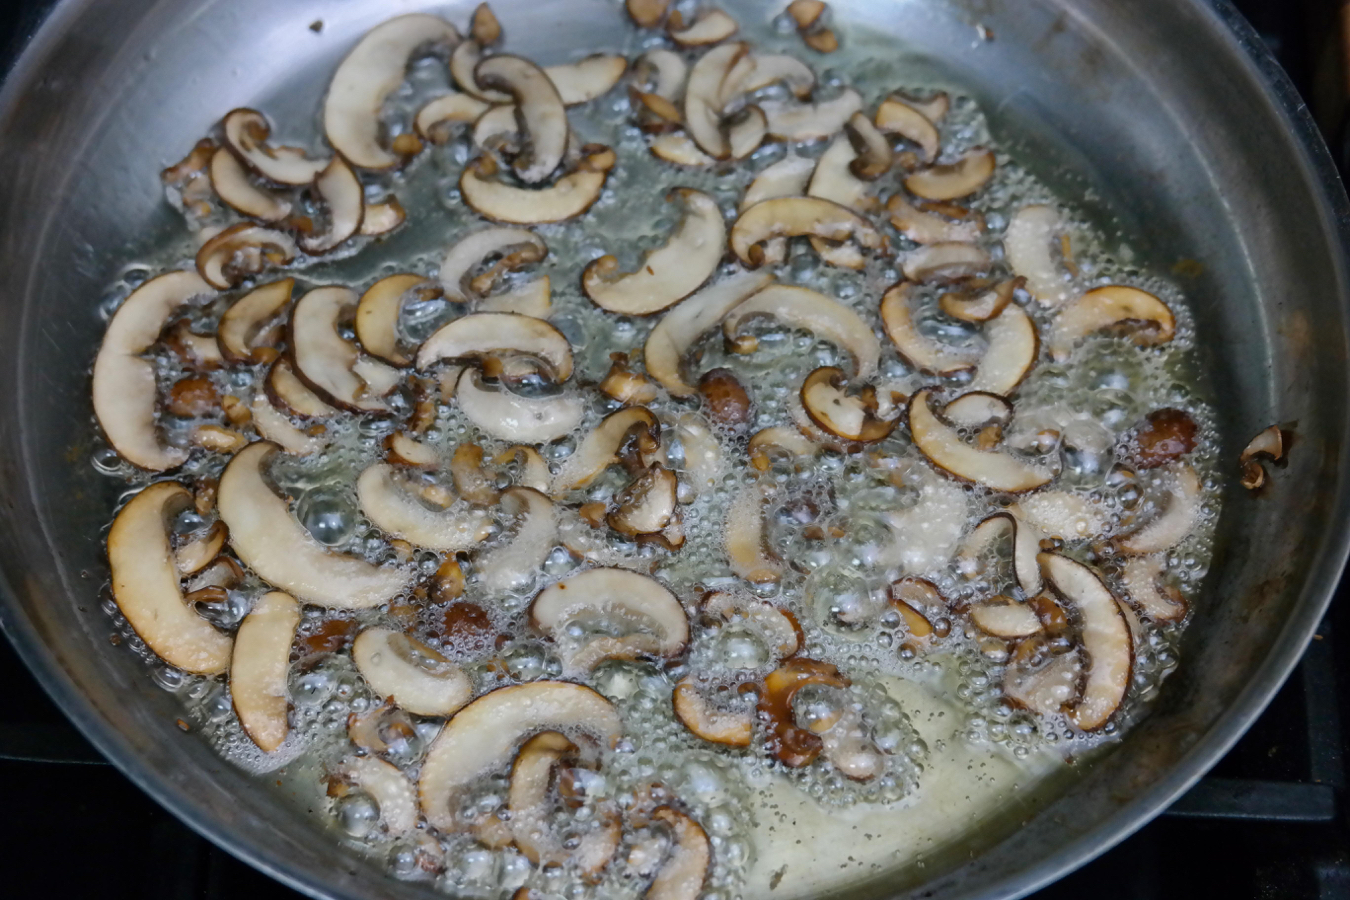
We took the squash out of the pan and finally added in our mushrooms and garlic, letting everything cook for 4 minutes or so while stirring occasionally, until the mushrooms were browned and tender and the garlic just started to turn golden.
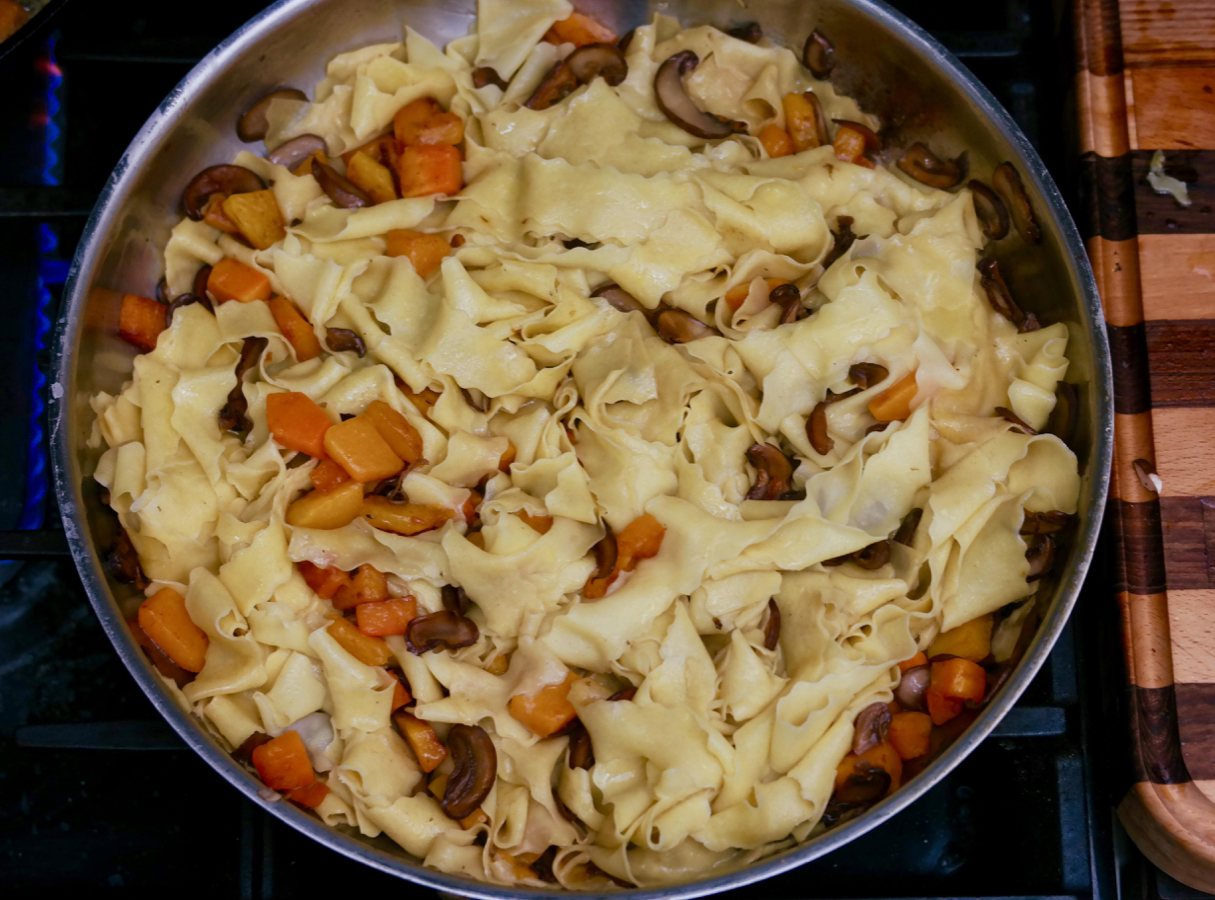
And lastly, we cooked the tagliatelle in a pot of boiling water, making sure to stir the noodles as soon as they went in so they didn’t stick together. You only need to boil them for around 2 minutes – make sure you don’t overcook them or they’ll get mushy. We drained the pasta, then placed it in the pan with the mushrooms and added the squash back in, and stirred everything around to mix the pasta, sauce, and vegetables together.
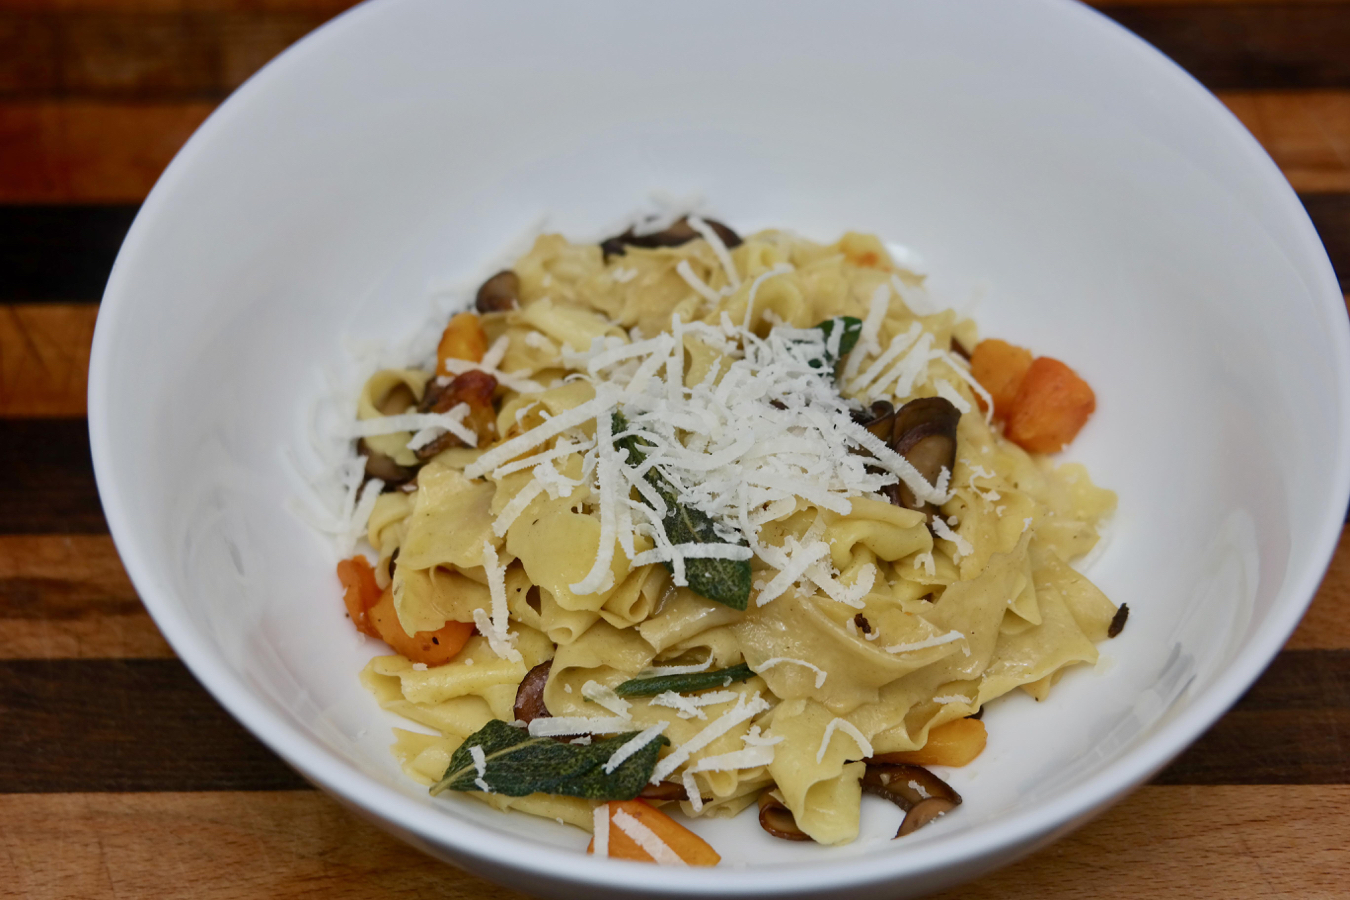
Then we scooped up servings of pasta, topped with the sage leaves and grated Parmesan.
Yes, that was a process. We had to set aside quite a bit of time on a recent weekend to making the pasta dough, pressing it through the roller multiple times, cutting it into the right shape, and then cooking it all into a meal. But it was a great experience – we got to see how the sausage (er, the pasta) is really made and get some practice making a cool pasta shape. We hope to continue on, learning by doing and moving on to even more interesting and unusual pastas, and we’ll try to document our results here.